#457 Precision Timer
Comparing the precision and constraints of various methods for timing an operation with an Atmega328, with some discussion of the timer/counter features of the chip.

Notes
Problem: need to measure an arbitrary elapsed time with a known resolution.
The standard millis and micros functions return the time since the current program started, and can be used to record the start and end
of an operation, and the elapsed time calculated.
There are three challenges with these functions:
- they eventually wrap around to 0
- the resolution is limited
- cannot be used in conjunction with analogWrite/PWM on pins 5 and 6
Another approach is to run a fast counter with Timer/Counter2 - demonstrated here with microTimer2.
For practical high-resolution timing, these techniques are available in some very good libraries such as FlexiTimer2 library.
Standard Timing Functions
The millis and micros functions are defined in Arduino Core wiring.c,
and use Timer0. Timer0 is set up by the init() function prior to setup() being called.
- millis() Returns the number of milliseconds passed since the Arduino board began running the current program. This number will overflow (go back to zero), after approximately 50 days.
- micros() Returns the number of microseconds since the Arduino board began running the current program. This number will overflow (go back to zero), after approximately 70 minutes.
Timers
The ATmega328 has thress timers, summarised as follows:
Timer/Counter0
- a general purpose 8-bit Timer/Counter module, with two independent Output Compare Units, and with PWM support
- Three Independent Interrupt Sources (TOV0, OCF0A, and OCF0B)
- Used for
millis,microsanddelay; also analogWrite/PWM on pins 5 and 6
Timer/Counter1
- 16-bit Timer/Counter unit
- Glitch-free,Phase Correct Pulse Width Modulator(PWM)
- Four independent interrupt Sources(TOV1, OCF1A, OCF1B, and ICF1)
- analogWrite/PWM functions on pins 9 and 10; Servo library; Tone library (second tone)
- Timer/Counter0 and Timer/Counter1 share the same prescaler module, but the Timer/Counters can have different prescaler settings
Timer/Counter2
- a general purpose, single channel, 8-bit Timer/Counter module
- 10-bit Clock Prescaler
- Glitch-free,Phase Correct Pulse Width Modulator(PWM)
- Overflow and Compare Match Interrupt Sources(TOV2, OCF2A and OCF2B)
- analogWrite/PWM functions on pins 3 and 11; Tone library (first tone)
Counting with Timer2
Timer2 is setup to count in normal mode
- counts from 0 to 0xFF
- sets the TOV2 overflow flag set in the same timer clock cycle as the TCNT2 becomes zero
- Compare Output mode disabled
The Timer2 clock is pre-scaled by 8 to give an interval of 0.5µs
The current count is thus the number of overflows * 0x100 plus the current value of the counter. this is counting “0.5µs increments”, so divided by 2 gives the number of microseconds.
Summary
Assuming an Arduino Uno / Atmega328 running at 16MHz:
| Method | Resolution | Timer | Wraps at |
|---|---|---|---|
millis |
1ms | Timer1 | ~50 days |
micros |
4µs | Timer1 | ~70 minutes |
microTimer2 |
0.5µs | Timer2 | ~year |
Test Script
The PrecisionTimer.ino sketch is a simple comparison of the three timing methods at work:
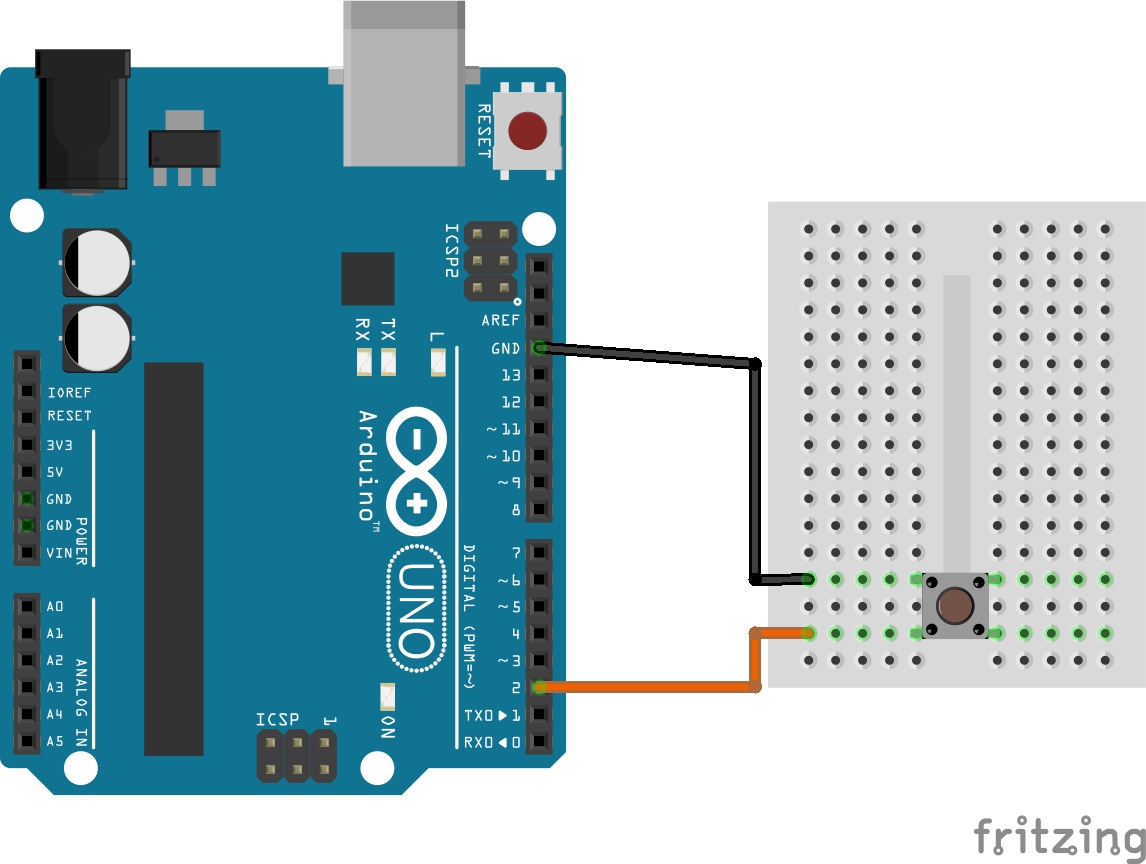
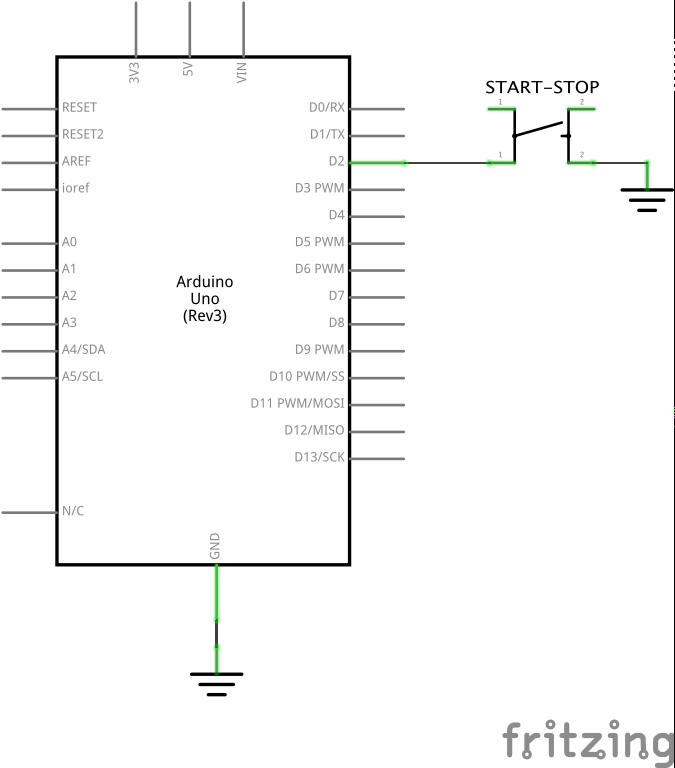
- a button is attached to a hardware interrupt and is used to start and stop a timing task
- timing results are output on the serial bus
The script does not attempt to deal with wrap-around of any of the functions (as durations are pretty extreme).
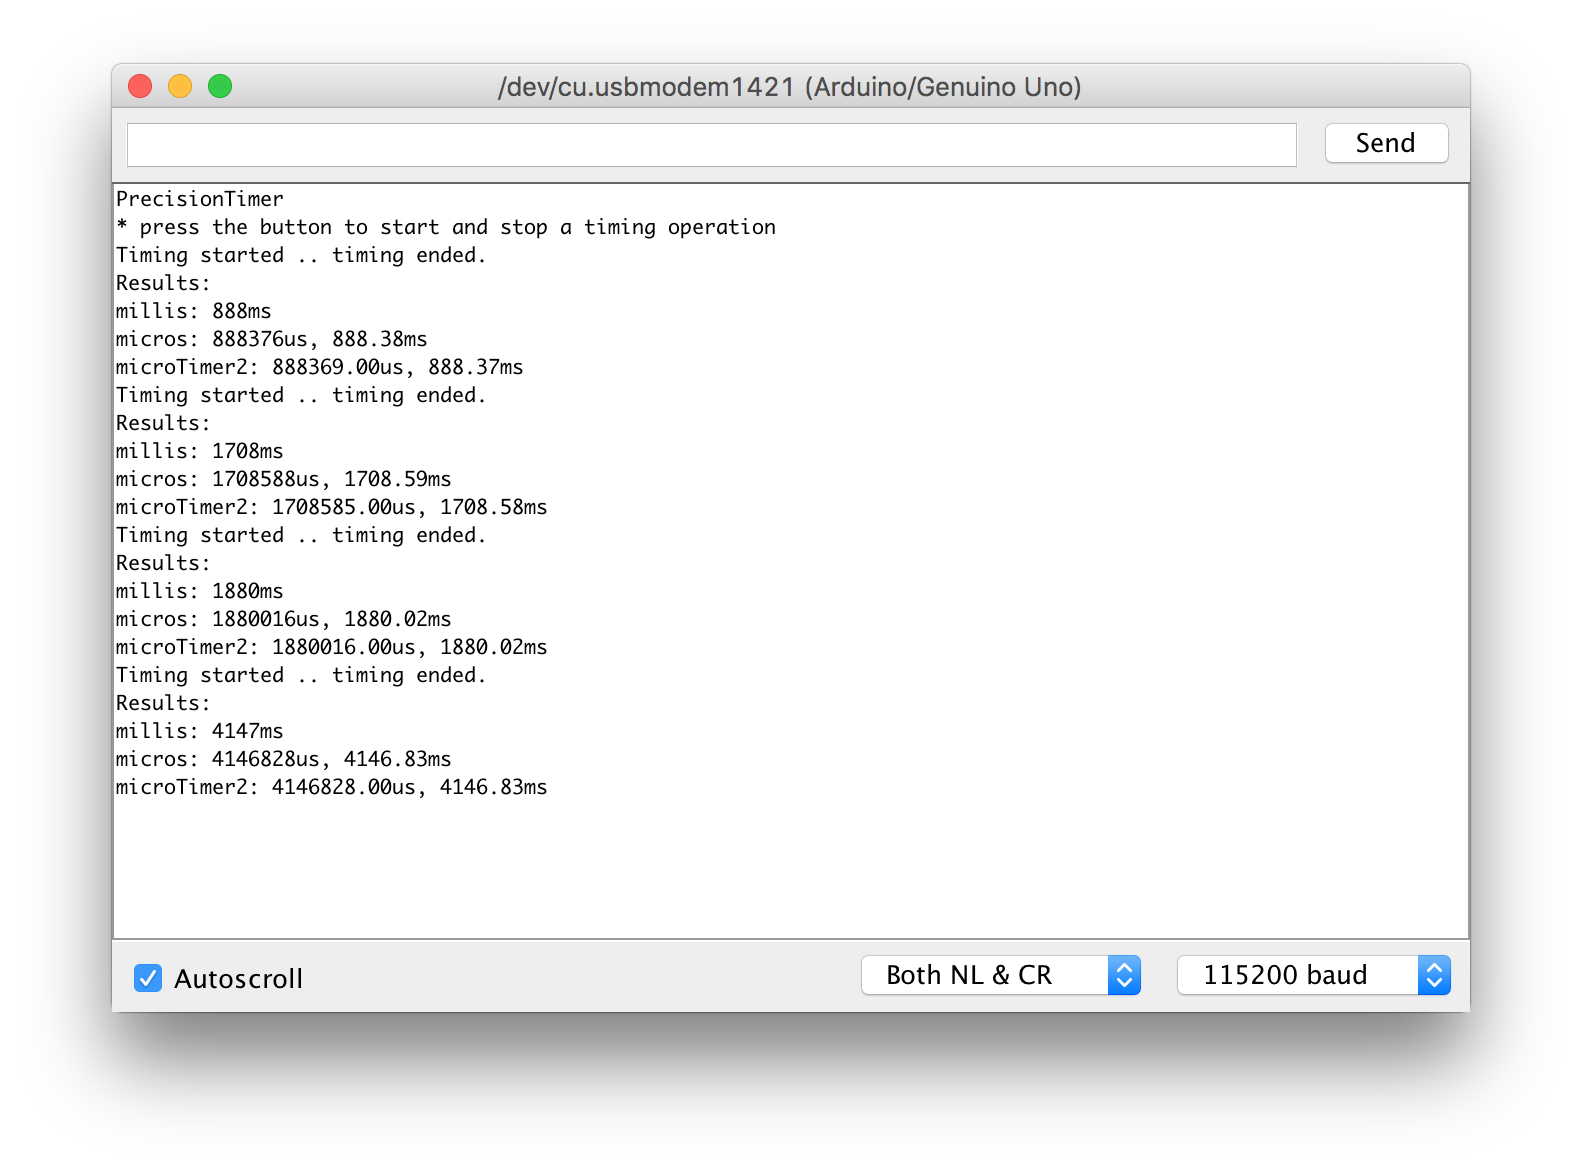
Sample run:

PrecisionTimer
* press the button to start and stop a timing operation
Timing started .. timing ended.
Results:
millis: 888ms
micros: 888376us, 888.38ms
microTimer2: 888369.00us, 888.37ms
Timing started .. timing ended.
Results:
millis: 1708ms
micros: 1708588us, 1708.59ms
microTimer2: 1708585.00us, 1708.58ms
Timing started .. timing ended.
Results:
millis: 1880ms
micros: 1880016us, 1880.02ms
microTimer2: 1880016.00us, 1880.02ms
Timing started .. timing ended.
Results:
millis: 4147ms
micros: 4146828us, 4146.83ms
microTimer2: 4146828.00us, 4146.83ms
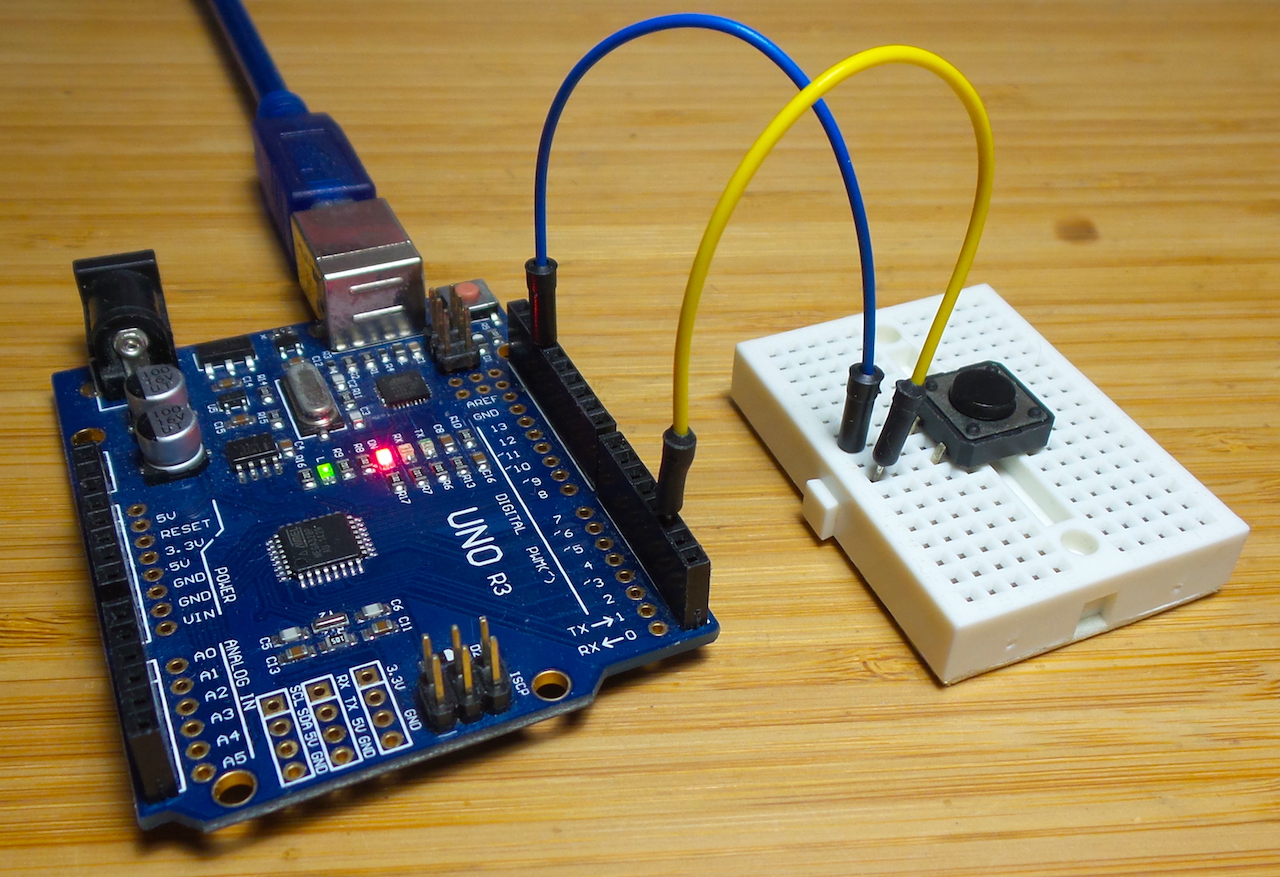
Construction


Credits and References
- Timers and counters
- FlexiTimer2 library
- eRCaGuy_TimerCounter - work-in-progress(?) Timer2 library
