
#632 Foam Cutters
Examining various foam cutter designs and building a couple for small-scale foam sculpting.

Notes
High density foam is useful for craft and modelling purposes. Relatively thin/small sections can be easily cut with a craft knife. For larger cuts or arbitrary sculpting, it is easier and gives better results when using a hot wire.
The basics of hot wire foam cutting:
- it works by heating a filament (wire), allowing it to slice through foam by basically melting and partially vaporizing it
- of course DANGER toxic fumes that are not good for the environment:
- PPE should be used and cutting done in a well ventilated area
- I think the cutting temperature should ideally be high enough to easily melt the foam, but now so high that it instantly vaporizes it.
- power regulation is the critical design factor. With low resistance filaments, it is very easy to blow power sources or fuses if not correctly limited.
In the following notes, I cover:
- some commercial options
- look at a grab-bag of DIY projects on the web
- build two cutters:
- a battery-powered, nichrome-wire cutter
- a steel-wire cutter
Commercial Tools
Bench tools like the Proxxon 37080 Hot Wire Cutter (~$143) are designed for large straight cuts. Good for basic structural shapes. They have built-in power control system.

At the cheaper end, and designed more for sculpting than cutting are tools like the Cooltop Hot Wire Foam Cutter kit (~$27). It is powered from a small AC adapter and doesn’t appear to have any active regulation/feedback. Just the on/off switch!
[
For a little more, one can find tools like the GOCHANGE 4 in 1 Foam Cutter (~$37) that offer a similar range of accessories but what appears to be a little more advanced regulator, though still manually controlled it seems.
[
DIY Options
So we are basically talking about heating up a wire, so as one would expect a simple web search yields thousands of examples of how people have built their own.
A common approach is to scavenge some nichrome wire from a soldering iron, hair dryer or other equipment with a heating element.
Nichrome (nickel-chromium alloy) is commonly used as a resistive heating element as it has an electrical resistivity of around 112 microOhm-cm. This is about 66 times higher than copper. i.e. for a given current, Nichrome will dissipate more power as heat (I²R).
What is quite alarming about many of these DIY solutions is the lack of consideration given to limiting the power draw.
Just a few examples:
Example 1: Making a Hot Wire Cutter for Shaping Foam
12V power supply, 22g nichrome wire and switch
Example 2: $5 DIY Hot Wire Foam Cutter
Uses nichrome salvaged from hair dryer. Vertical cutter. See instructables for details.
Example 3: Make A Hot Wire Foam Cutter
good details on constructing a versatile and precise cutting frame. Hand waves over the electronics though: “12V AC/DC adapter” and a “PWM controller with LED display”. See the write-up

Example 4: How To Make Handheld Hot Wire Foam Cutter ( Simple )
Materials to include: 2 AA battery case + 2 battery AA 1,5v, 2 x Popsicle sticks, 2 x screws, Mini Push Button Switch, Nichrome wire
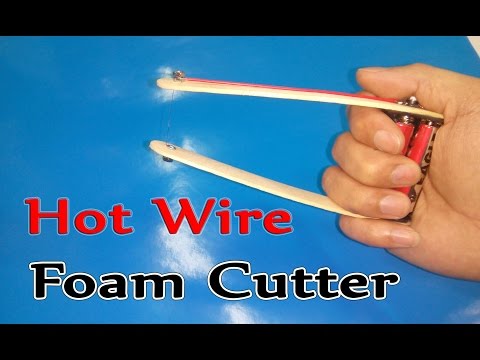
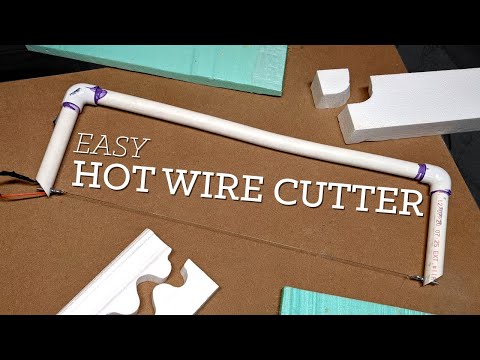
Build #1: battery-powered, nichrome-wire cutter
I salvaged my nichrome wire from a spare soldering iron heating element:

The circuit is simple a 2xAA battery pack and momentary switch to power the nichrome element:


I hot-glued two popsicle sticks the the AA battery holder, used a small piece of protoboard to mount the switch, and used some nuts and bolts to attached a small piece of nichrome wire in a loop.
This make a convenient cutting tool for fine work:

Conclusion: this works really well! Especially for sculpting fine details
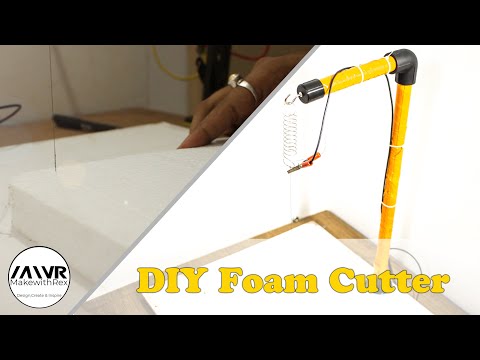
Build #2: steel-wire cutter
The nichrome wire I have is quite flexible and so can’t be used to create a cutting wire in an arbitrary shape.
For this second build I’m using stainless steel guitar string (D’Addario EHR370 18 gauge/G-string). This has lower resistivity than nichrome so will need more power, but the steel string can be formed into shapes that it will hold quite well.
Rather than build a custom regulator, I am just using a bench power supply with constant current and voltage controls.
I used some heavy gauge wire to connect the DC power jack to the steel wire with a momentary switch in the circuit.
Nuts and bolts are used to affix the steel wire. In this first example, I have it running in a relatively large semi-circle. this allows for some relatively fine sculpting of complex surfaces:

I gradually increased the power settings until the cutter was getting warm enough to cut nicely. I settled on 5V max/3A max limits, at which point it was drawing the full 3A at 2.6V for power consumption of about 7.8W. i.e. it seems this length steel was probably just over 0.8Ω

Conclusion: this works OK. Needing the external power supply is a bit inconvenient, and I’m not sure this is the best filament material. But for larger arbitrary shapes, it gets the job done.
Credits and References
- nichrome - wikipedia