
#471 Fluorescent Ring LED Replacement
Understanding fluorescent lighting and installing an LED replacement.

Notes
My home has fluorescent lighting fixtures circa the late 1990s. The ballasts are starting to fail, and so I am gradually replacing the units with higher efficiency LED alternatives.
Typical Installation
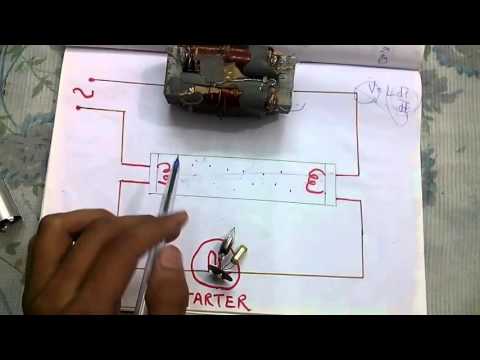
Mostly I have circular ceiling units that are the problem. These use the preheating/switchstart system involving:
- electromagentic ballast - Tridonic Atco Electromagnetic Fluorescent Lighting Ballast EC36/40
- starter
- fluorescent ring

How Fluorescent Lighting Works
In fluorescent lighting, an electric current excites low-pressure mercury vapor, producing short-wave ultraviolet light that causes a phosphor coating on the inside of the lamp to fluoresce.
The noble gas used in the tube (commonly argon) must be ionized before the arc can strike. Larger tubes require higher voltages for this (up to thousands of volts).
The starter is a very basic switching oscillator that can generate the required voltages in the ballast - in essence we have the basics of a switching boost converter. Once the arc has struck, the starter is bypassed and stops.
When in operation, the ballast acts as a governor for the tube, preventing the current draw from running away and blowing itself up.

“EXPLAINED : Working of tubelight” by brain amplifier provides a very good explanation of the internals of this kind of system:
LED Replacement
I found a 15W LED Ring PANEL Circle Light AC220V - 240V SMD 5730 LED Round Ceiling from a seller on aliexpress. These turned out to be a perfect replacement for the 30cm fluorescent rings with a diffuser cover.
The LED ring is 201mm in diameter, and has 15x 5730 LEDs in series, with each of the 15 serials stages containing 2 LEDs in parallel.
Hence the model number: ø201mm-5730-2P15S!

Note: there are some LED ring units that connect directly to mains and do not need a separate driver unit (the driver is built-in to the LED board), such as the

LED Driver
The LED driver is a simple switching converter


The driver follows a standard circuit recommended for the WS3441 high precision buck constant current LED driver. This is my re-drawing of the actual circuit:

It uses an MB10 full bridge rectifier on the input.
Wiring Standards
In Singapore, the Cable Colour Code changed from 2009-03-01.

My property is pre-2009, so I have:
- blue: line
- black: neutral
- yellow-green: earth
Installation
The LED ring fits quite nicely in the same dome housing as the original 30cm circular fluorescent tube.

Credits and References
- Fluorescent Lamp - wikipedia
- 15W LED Ring PANEL Circle Light AC220V - 240V SMD 5730 LED Round Ceiling
- Tridonic Atco Electromagnetic Fluorescent Lighting Ballast EC36/40
- Project ‘Green’ House #1: LED replacement lighting for circular fluorescent tubes
- How to Replace a Fluorescent Light Ballast by Home Repair Tutor
- WS3441 datasheet